Meat Crafting Kits: Everything You Need to Create Tradition at Home®
**Dry aging bags for steak and other beef products are available for purchase on umaidry.com**
When it comes to dry aging steak or curing charcuterie at home, you only need three things:
Meat + Bag (or Casings) + Time
Ok, you need a few other things but overall the process of dry aging meat or making your own charcuterie and dry salumi is very simple. Crafting your own meat at home is not only easy and fun, but it will save you lots of money in the long run. Not to mention you can show off your culinary aptitude to dinner guests with guaranteed results!
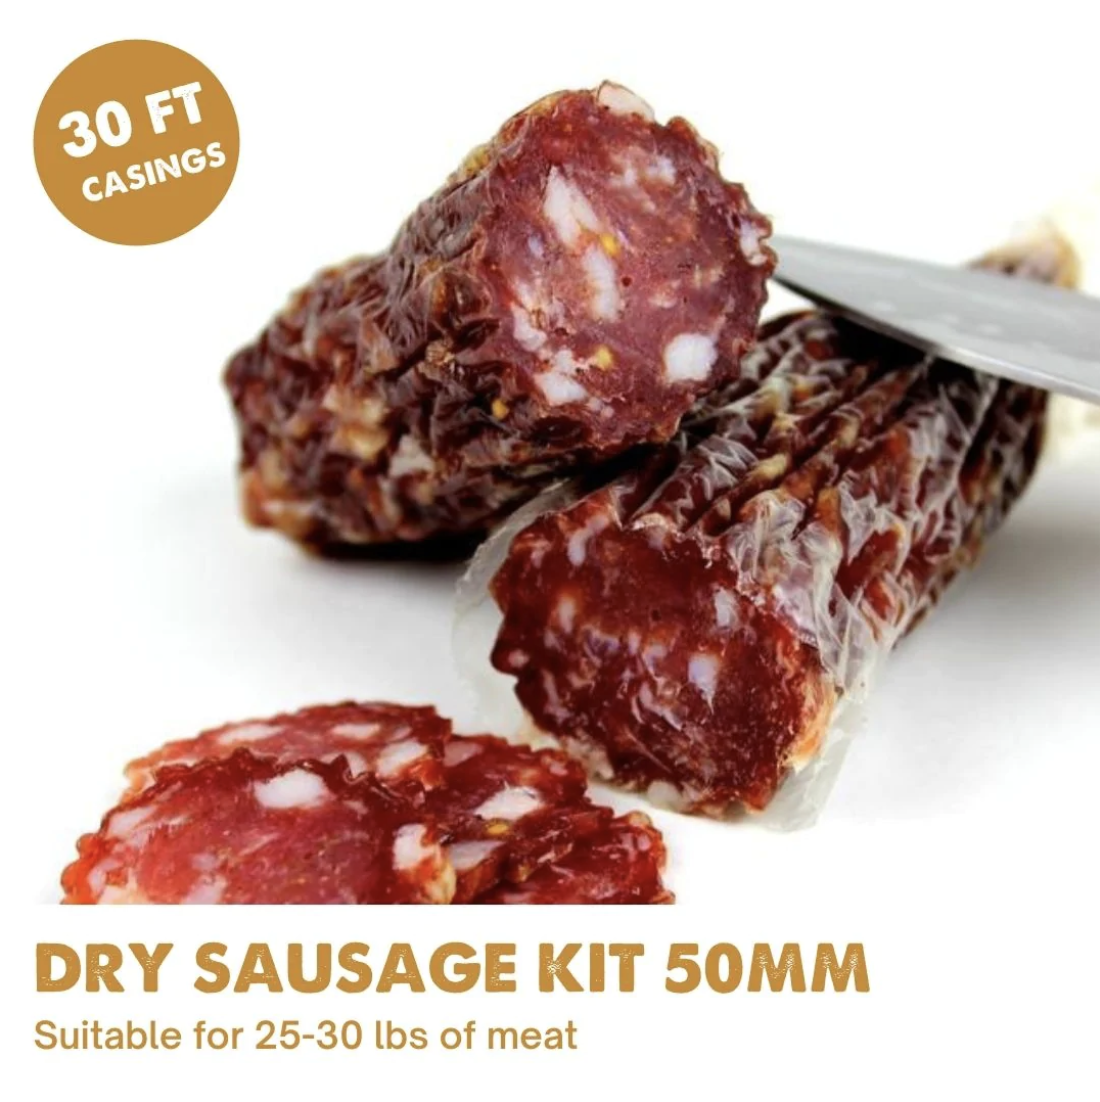
Most people looking to dry age start out with a meat crafting kit. The “Just Add Meat” Ribeye Starter Kit comes with 3 dry aging bags and a wire rack (essential for the meat to rest on in the fridge). If you’re looking to craft some sausage, the 50mm Sausage Making Kit is popular and comes with everything you need to make your favorite sausage or salumi. If you’re making charcuterie, there’s no easier way to create your project that with a spice blend specially formulated for a 5 lb. recipe. Making Capicola or Pepperoni has never been easier!
Of course, you don’t have to purchase a Meat Crafting Kit to make delicious dry aged meats and charcuterie at home. You can buy all your dry aging and dry curing components separately. However, the meat crafting kits are perfect for first-time meat crafters.
Sure, there are other dry age bags, dry cure bags and sausage casings on the market. But UMAi Dry offers product support directly through umaidry.com/help, which is an invaluable resource for first time meat crafters. There is also an exclusive Facebook group so you can crowd-source anything from tips and tricks, to recipes and recommendations. Help and support for any of your dry aging or dry curing projects is never more than a click away.
DrybagSteak has been in the dry aged meat business for over 15 years, and our dry aging bags for beef are the best on the market. Whether you want to explore the finer flavors of traditional meat preparation or are looking to impress guests at your next holiday gathering, it’s easy to get great results dry aging your own steak at home.
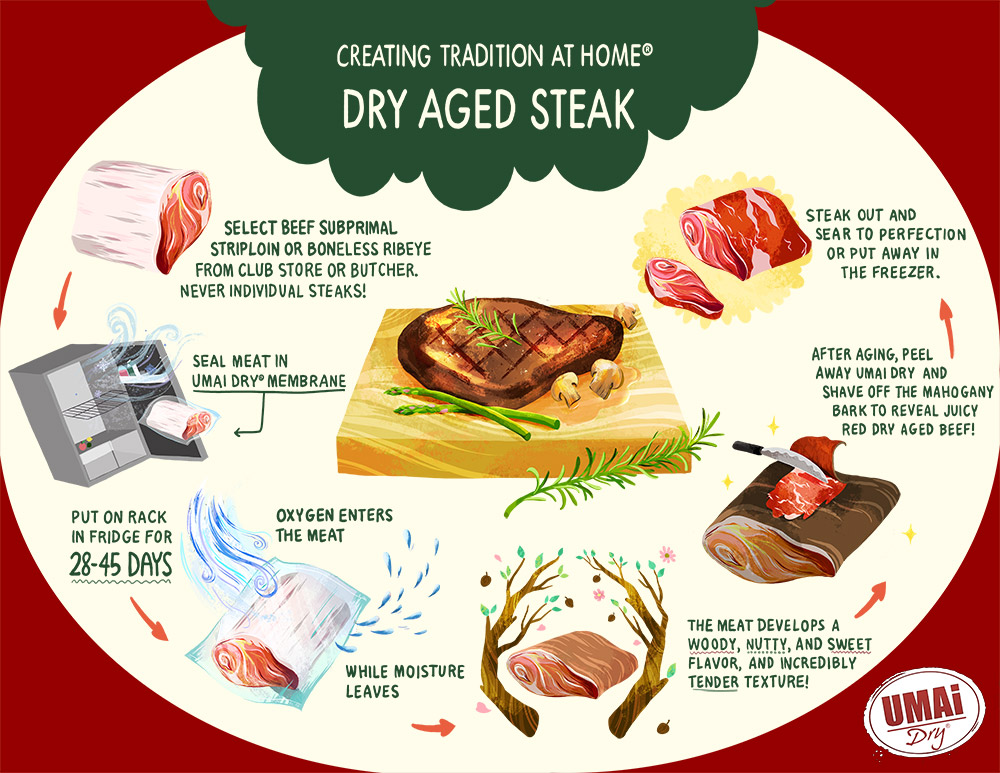
The process of dry aging meat is very simple, but understanding the science and logistics of the process will improve your experience. Let’s review an overview of the steps to dry aging steak at home. Remember, your instruction booklet will have more detailed instructions.
Step 1: Select Your Meat
Always dry age whole, sub primal cuts (not individual steaks) for the best results. We recommend Ribeye, Entrecote in Europe (Scotch filet in Australia), NY Strip (Striploin), or Sirloin. You can dry age Tenderloin (filet mignon) but only for short period of time (4-5 days) as not to lose expensive tender meat to trim.
Step 2: Transfer Meat
Use the clean transfer method and keep the seal area free of liquids to ensure the best heat seal. Wipe the opening of the bag with a paper towel prior to sealing.
Step 3: Sealing the Meat in UMAi Dry
The purpose of vacuum sealing is simply to bring your UMAi Dry bag into contact with the meat to allow for efficient moisture release. This means that air bubbles pose no risk to the dry aging process. We recommend dry aging steak for 21-45 days in your UMAi Dry bag.
Step 4: Refrigerate Meat
Place your UMAi Dry bag in a modern, full size refrigerator that effectively controls the humidity to draw the moisture out of the inner environment of the refrigerator. Fun Fact: Moisture evaporation stage lasts for about 7-10 days. The tenderization and flavor development stage lasts as long as the meat is being dry aged. We have customers who dry age for up to 100 days in UMAi Dry bags! Step
Step 5: Trim, Steak Out, & Eat!
After the desired aging period, the meat can be removed from the UMAi Dry bag and cut into steaks. The bark that has formed on the meat is usually easiest to trim off after cutting the individual steaks. Any remiaing steaks that won’t be cooked within a couple days can be vacuum sealed into a Foodsaver type bag and stored in the freezer for up to a year.
THE DRY AGING PROCESS: WHAT TO EXPECT
DAY 1 At least 75% of the meat surface is in contact with the UMAi Dry membrane. And your kitchen might be a mess.
DAY 2 UMAi Dry will relax, and may appear loose as it takes up moisture from the meat. There may be moisture pooling in the corners; let time and your fridge take care of that.
DAY 4-5 Bond begins to form; you may notice color change.
DAY 10 The meat should begin to turn mahogany brown. You may begin to catch an earthy, blue-cheesy, nutty scent.
DAY 21 The bark is firm and dark, mostly even in color, and almost firm enough to “knock” on. There may be softer and firmer spots. Small white dots may be salts, fat or mold, which is OK. Grey, blue, green, or black mold is bad news.
DAY 28-45 The meat is firm and dark, and may begin to pull away from the UMAi Dry membrane. Separation is normal— the meat is still protected in its “custom dry aging space.”
UMAi Dry offers a wide range of traditional fermented dry sausage Spice Blends for 5 pounds, as well as Pre-mixed Curing Salts Blend. You will also find a wide range of recipes on our recipe page andon our YouTube channel. Soon enough you will be expertly drying sausage at home and impressing your friends with its high-quality taste!
How to use dry aging bags for steak

Do I need a vacuum sealer to seal sausage casings?
UMAi Dry does not require a vacuum seal to make dry aged steak at home. There is an important differentiation between vacuum sealing and sealing UMAi Dry with a vacuum sealer — the purpose of sealing UMAi Dry with a vacuum sealer is not to keep bacteria out; it’s simply to bring the bag in contact with the meat surface. With traditional vacuum sealing, users need to be concerned with contamination and bacteria which is why “air pockets” can be dangerous. With UMAi Dry, air pockets pose no problem. When sealing your steak in the UMAi Dry bag, you only need to adhere 70-80% of the meat surface to the bag.


